Introduction: Simplifying Garage Door Remote Programming
If you've ever struggled to get your garage door remote to work, you're not alone. Many homeowners in Stamford, CT, encounter issues with programming their garage door remotes. However, it's a crucial skill that can save you time and hassle. In this guide, 3D Garage Door Repair will walk you through the process of programming your garage door remote, ensuring you can enter and exit your garage with ease.
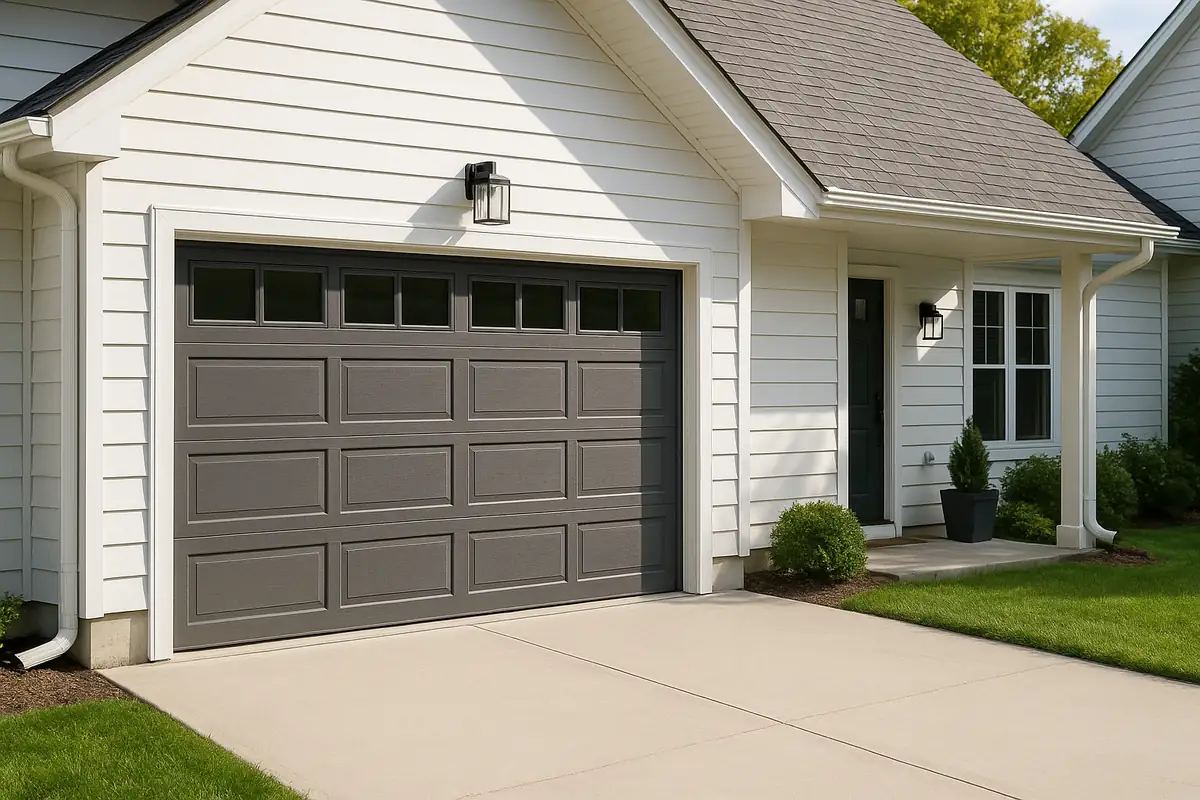
Understanding Your Garage Door Remote
Before diving into the programming steps, it’s essential to understand what makes your garage door remote tick. Here are a few key components:
- Transmitter: The remote itself that sends a signal when you press a button.
- Receiver: The component installed in your garage door opener that receives the signal.
- Coding System: Most modern garage door openers use either rolling code technology or fixed code systems.
Types of Garage Door Remotes
Garage door remotes generally come in two types:
- Keychain Remotes: Small, portable, and easy to carry.
- Wall-Mounted Remotes: Installed inside your garage for easy access, often featuring additional buttons for multiple doors.
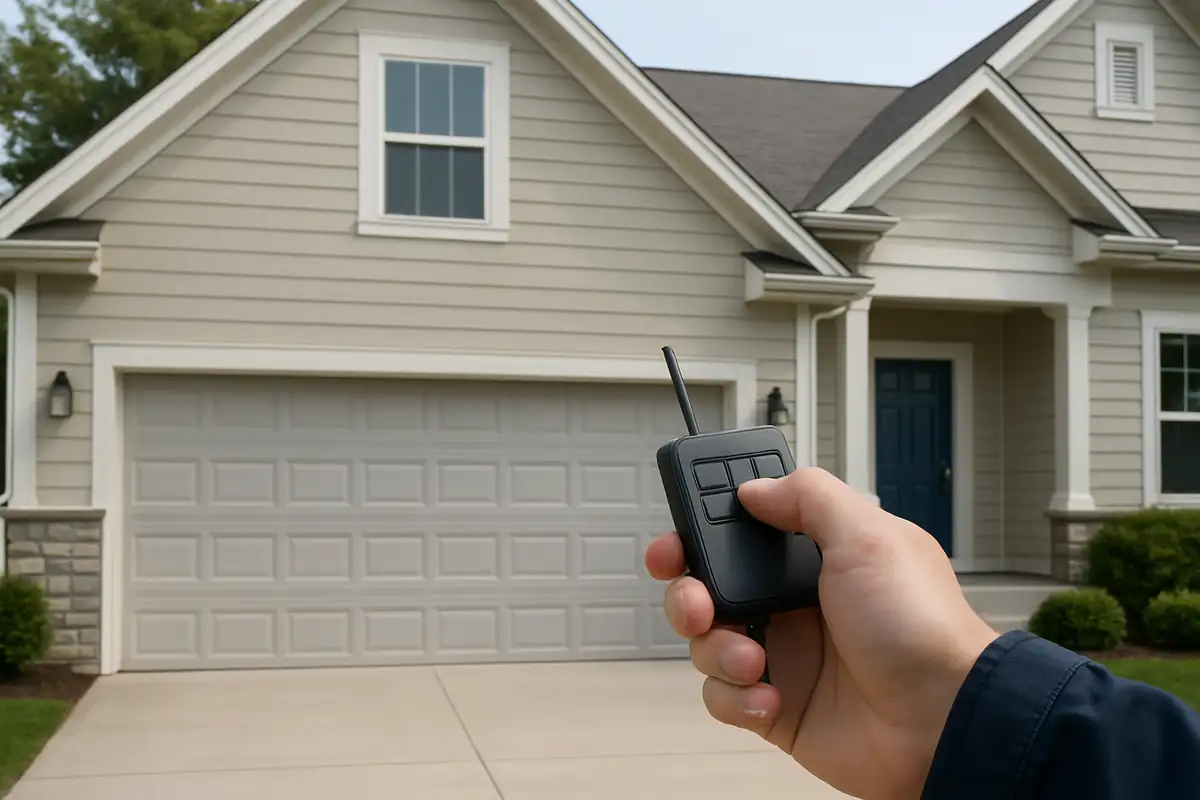
Steps to Program Your Garage Door Remote
Now that you understand your remote, let’s get into the nitty-gritty of programming it. Follow these steps carefully:
Step 1: Prepare Your Tools
You’ll need:
- Your garage door remote.
- Your garage door opener’s manual (for model-specific instructions).
- A step ladder (if necessary).
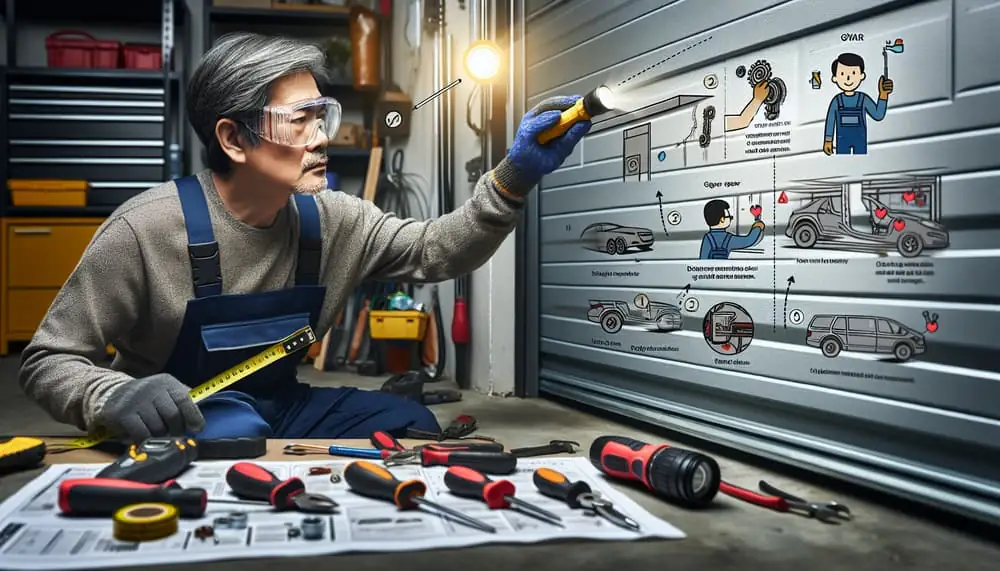
Step 2: Locate the Learn Button
Most garage door openers have a 'Learn' button. This is typically found on the back or side of the motor unit. It may be labeled as 'Learn', 'Program', or 'Set' and can sometimes require a small screwdriver to access.
Step 3: Activate Programming Mode
Press and hold the Learn button until the indicator light turns on. Once lit, you typically have about 30 seconds to complete the next step.
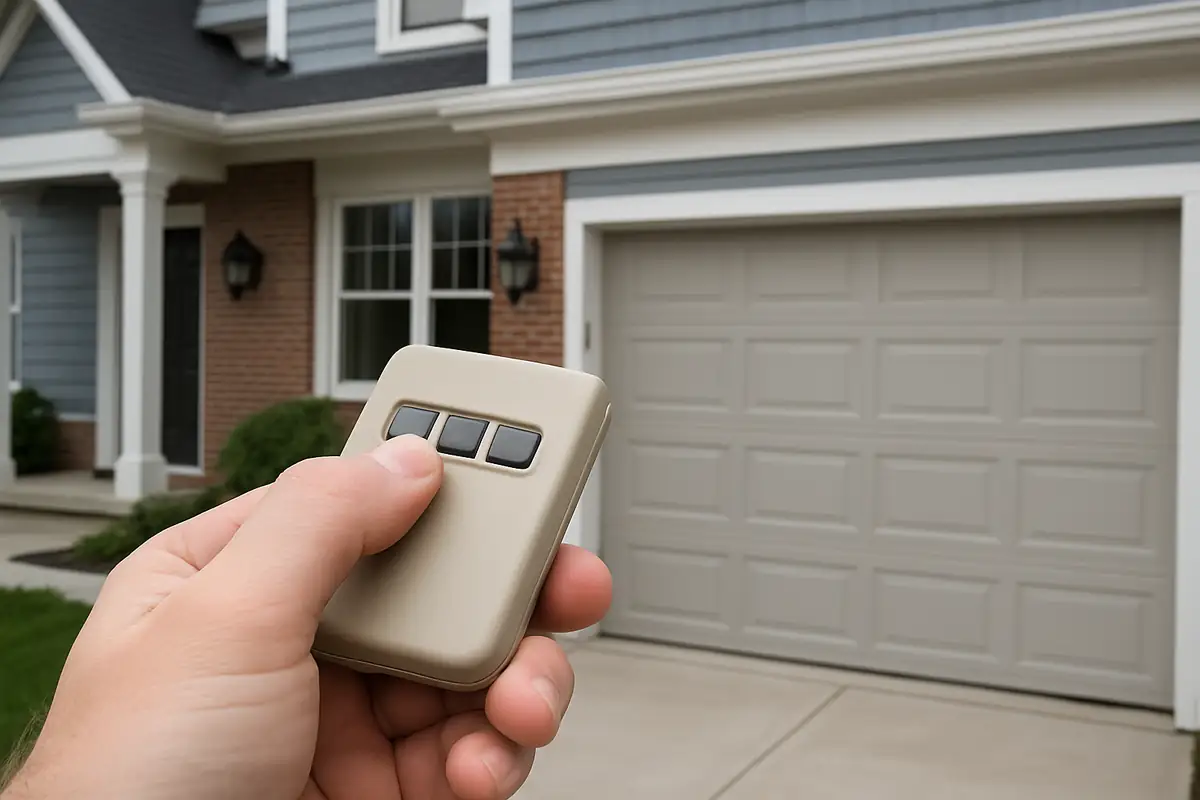
Step 4: Program the Remote
While the light is on, press the button on your garage door remote you wish to program. Hold it for a few seconds until the garage door opener lights blink, indicating successful programming.
Step 5: Test Your Remote
Try using your newly programmed remote to open and close the garage door. If it works, congratulations! You've successfully programmed your remote. If not, repeat the steps carefully.
Common Issues and Troubleshooting
Sometimes, things don’t go as planned. Here are some common issues you may encounter:
- Remote Not Responding: Check the battery and replace it if needed.
- Programming Mode Timeout: Ensure you press the remote button within the 30-second window after pressing the Learn button.
- Signal Interference: Move away from potential interference sources like electronic equipment or metal objects.
When to Call a Professional
If you’ve followed these steps and your remote still isn’t functioning properly, it may be time to call in the experts at 3D Garage Door Repair. With years of experience serving Stamford, CT, we can diagnose and repair any issues with your garage door system.
Additional Garage Door Remote Tips
To ensure the longevity of your garage door remote and prevent future issues, consider the following tips:
- Regularly Check Batteries: Change the batteries in your remote every 6 months.
- Limit the Number of Remotes: Keep the number of remotes to a minimum to reduce programming confusion.
- Secure Your Remote: Keep it in a safe location to avoid loss or theft.
Statistics on Garage Door Usage
Did you know? According to a survey conducted by the International Door Association, approximately 70% of American homes have at least one garage door, and they open and close more than 1,500 times annually. Proper maintenance and understanding of your garage door remote can significantly enhance your daily convenience and security.
Conclusion: Take Control of Your Garage Door
Programming your garage door remote doesn’t have to be a daunting task. By following the simple steps outlined above, you can easily regain control over your garage entry. If you encounter any challenges or prefer to leave it to the professionals, don't hesitate to reach out to 3D Garage Door Repair in Stamford, CT. We're here to help you with all your garage door needs!
Contact us today at 3D Garage Door Repair, and let’s get your garage door working perfectly again!
Explore More Resources
Related Articles
Service Areas
We proudly serve Stamford, Northfield, Dolphin Cove, Palmers Hill, Old Greenwich and more areas.
Our Services
Professional garage door repair, spring repair, opener installation and more. View all services →
Garage Door Installation: What to Expect from 3D Garage Door Repair in Stamford, CT
Signs Your Garage Door Opener Needs Replacement | 3D Garage Door Repair