
Introduction
Have you ever found yourself fumbling with your garage door remote, only to realize it doesn’t work? You’re not alone. Many homeowners in Stamford, CT face this issue at one point or another. Fortunately, programming your garage door remote is a simple task that can save you time and frustration. In this guide, we’ll walk you through the step-by-step process of programming your garage door remote, ensuring your access is seamless once again. Let’s dive in!
Understanding Your Garage Door Remote
Before delving into the programming process, it’s essential to understand the components of your garage door remote. Here are a few key points:
- Types of Remotes: There are various types of garage door remotes, including standalone remotes, keypad entry systems, and smart remotes.
- Frequency: Most remotes operate on a 315 MHz or 390 MHz frequency. Knowing this can help in troubleshooting issues.
- Battery Life: A weak battery can cause intermittent issues; ensure your remote has a functioning battery before programming.
Step-by-Step Guide to Programming Your Garage Door Remote
Now that you understand your garage door remote, let’s get to the meat of the matter—programming it!
Step 1: Gather the Necessary Tools
Before you start programming, make sure to have the following tools ready:
- Your garage door remote
- The garage door opener unit
- A step ladder (if needed)
- Fresh batteries for the remote
Step 2: Locate the Learn Button
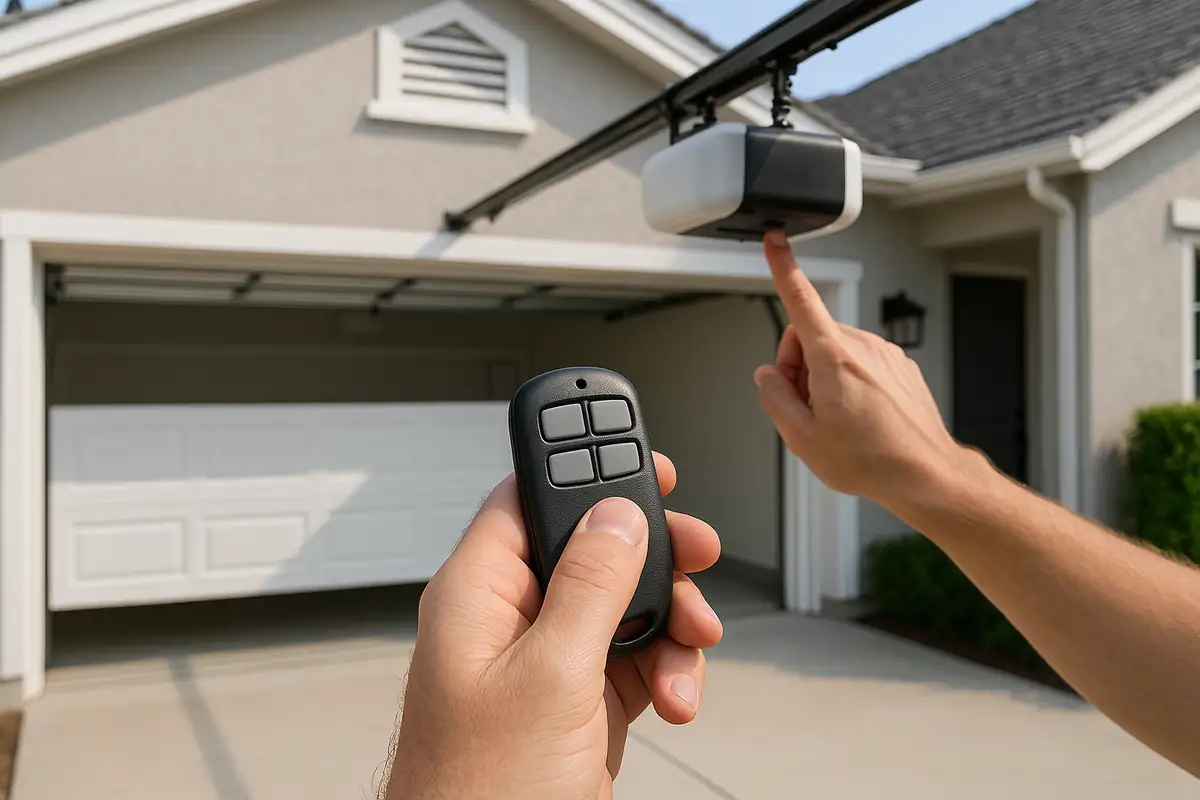
The learn button is typically located on the back or side of your garage door opener unit. Follow these steps to find it:
- Open the garage door and unplug the opener from the electrical outlet.
- Inspect the back or side of the motor unit for a button labeled “Learn,” “Program,” or something similar.
- If you have trouble locating it, consult your garage door opener’s user manual for guidance.
Step 3: Program the Remote
Follow these steps to program your garage door remote:
- Press and release the learn button on the garage door opener. This action activates the programming mode.
- Within 30 seconds, press and hold the button on your remote that you wish to program.
- Wait for the garage door opener to respond by activating the motor—this indicates successful programming.
- Test the remote by pressing the programmed button to ensure it opens and closes the garage door.
Step 4: Troubleshooting Common Issues
If you encounter issues while programming, consider these troubleshooting tips:
- Ensure the battery in your remote is functional and properly installed.
- Check that you’re pressing the learn button and the remote button within the designated time frame.
- Make sure the garage door opener is plugged in and functioning.
- If you have multiple remotes, remember each remote may need to be programmed individually.
Safety Tips When Programming Your Garage Door Remote
Safety should always be a priority when dealing with garage door mechanisms. Here are some tips to keep in mind:
- Keep clear of the garage door while programming to avoid potential accidents.
- Ensure children and pets are at a safe distance during the programming process.
- If you have an older garage door opener, consider upgrading to a more modern, safer unit.
Why You Might Need Professional Help
While programming your garage door remote is often straightforward, there are situations when it’s best to seek professional assistance:
- Complex Systems: If your system integrates with home automation or smart technology, professional help may be necessary.
- Frequent Issues: If you find yourself frequently needing to reprogram your remote, there could be an underlying issue with your garage door opener.
- Safety Concerns: If the garage door doesn’t operate safely, it’s time to consult a professional.
Conclusion
Programming your garage door remote doesn’t have to be a daunting task. By following these steps, you can ensure your remote is set up and ready to go in no time. If you encounter persistent issues or feel uncomfortable doing it yourself, don’t hesitate to reach out to 3D Garage Door Repair. Our experienced technicians are just a call away and ready to assist you with all your garage door needs in Stamford, CT. Let’s get your garage door functioning smoothly today!
Explore More Resources
Related Articles
Service Areas
We proudly serve Stamford, Northfield, Dolphin Cove, Palmers Hill, Old Greenwich and more areas.
Our Services
Professional garage door repair, spring repair, opener installation and more. View all services →