Introduction
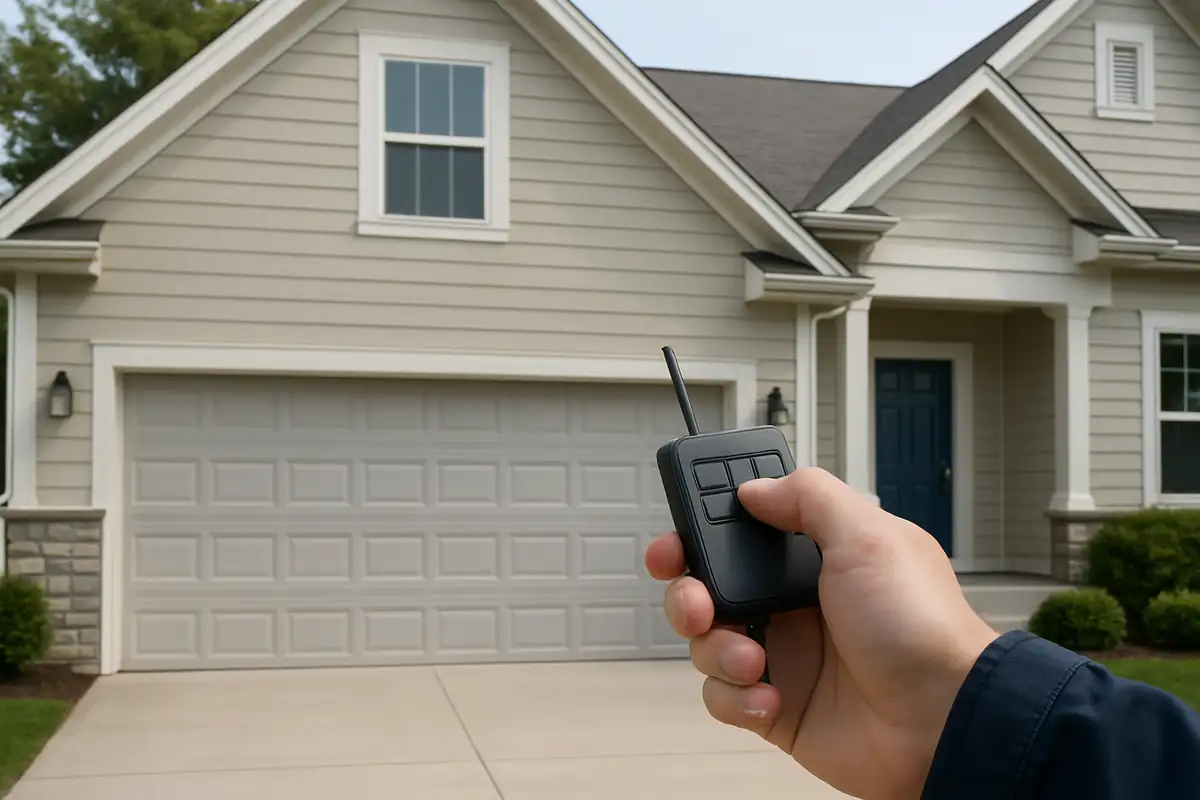
Garage doors have become a staple in modern homes, thanks to their undeniable convenience and security. However, programming your garage door remote can sometimes feel like a daunting task. If you’re in Stamford, CT, and need assistance with your garage door, 3D Garage Door Repair is here to help. In this comprehensive guide, we’ll walk you through the steps to program your garage door remote, ensuring a hassle-free experience.
Why You Might Need to Program Your Garage Door Remote
Before diving into the programming process, let’s explore some common reasons you might need to program your garage door remote:
- New remote: If you’ve purchased a new remote, you’ll need to program it to your garage door opener.
- Lost or stolen remote: If your remote goes missing, reprogramming your garage door will help enhance your security.
- Dead batteries: Sometimes changing batteries can reset your remote, requiring a fresh programming.
Types of Garage Door Openers
Understanding your garage door opener type can simplify the programming process. The two primary types are:
Chain Drive
This is the most common type of opener and is known for its durability and affordability. It's great for heavy garage doors but can be noisy. Programming a chain drive opener typically involves:
- Locating the learn button on the opener motor.
- Pressing and holding the learn button until the light blinks.
- Pressing the button on your new remote.
Screw Drive
Screw drive garage door openers operate using a threaded rod. They are quieter than chain drives and require less maintenance. Programming involves similar steps:
- Finding the learn button on the motor unit.
- Pressing and holding the button until the light flashes.
- Pressing the remote button to sync it.
Step-by-Step Guide to Programming Your Garage Door Remote
Now that you know why and what type of opener you have, let’s get into the step-by-step process for programming your garage door remote:
Step 1: Prepare Your Garage Door Opener
Start by ensuring that your garage door opener is plugged in and that it has power. If your garage door has a keypad, make sure the keypad is functioning properly as well.
Step 2: Locate the Learn Button
Most garage door openers have a learn button, typically found on the back or side of the motor unit. This button might be labeled as “Learn” or “Program.”:
- For LiftMaster or Chamberlain, the button is usually green.
- For Genie, it can be red or orange.
Step 3: Clear Existing Remotes (if necessary)
If you want to clear old remotes or devices, press and hold the learn button for about 10 seconds. The light will turn off, indicating that all previous codes have been erased.
Step 4: Program Your New Remote
Once you’ve cleared old codes or if you’re just programming a new remote:
- Press and release the learn button. The indicator light will turn on.
- Within 30 seconds, press and hold the button on your new remote that you want to program.
- Release the button when the garage door opener lights flash. This indicates that the remote has been successfully programmed.
Step 5: Test Your Remote
Once programmed, test the remote by pressing it to see if the garage door opens or closes. If it doesn’t work, repeat the steps, ensuring you’ve followed each one accurately.
Troubleshooting Common Remote Programming Issues
Sometimes, programming may not go as planned. Here are some common issues and solutions:
- The remote won’t program: Verify that you’re pressing the learn button correctly and within the time frame.
- Your remote works intermittently: Check the battery. If it’s weak, replace it.
- Your garage door moves erratically: Inspect for any obstruction in the path or check your garage door's alignment.
When to Call a Professional
While most people can program their garage door remote successfully, there are times when calling a professional is the best option. Consider hiring experts from 3D Garage Door Repair in Stamford, CT if:
- You have an outdated or malfunctioning garage door opener.
- You’re uncomfortable with DIY troubleshooting.
- The issues persist after following the programming guide.
Conclusion
Programming your garage door remote doesn’t have to be a hassle. By following these simple steps, you can regain control of your garage door in no time. If you encounter any difficulties or need expert assistance, don’t hesitate to reach out to 3D Garage Door Repair. We offer reliable garage door repair services in Stamford, CT, ensuring your garage door remains functional and secure. Contact us today!
Explore More Resources
Related Articles
Service Areas
We proudly serve Stamford, Northfield, Dolphin Cove, Palmers Hill, Old Greenwich and more areas.
Our Services
Professional garage door repair, spring repair, opener installation and more. View all services →